
How to blur faces in a photo before posting it
In 30 seconds: go to iloveimg.com, pick Blur face and upload the photo. It finds the faces on its own and shows them covered; wait a few seconds and look. If it misses one, switch to HIGH DETECTION; if it covers too much, LOW DETECTION. And with "Add blur area" you cover a number plate or a name by hand. Free, no sign-up.
You want to post a photo, but there are people in it who never gave you permission: some friends, another family's children, strangers walking past in the background.
And it is not just manners — in a lot of places, publishing somebody's face without their permission can land you in real trouble.
Covering them takes a minute and it is free. And here are three things the other tutorials skip: what to do when the tool misses a face, how to cover by hand something that is not a face, and one thing that is always forgotten and shows up in the photo just the same.
Go to iLoveIMG
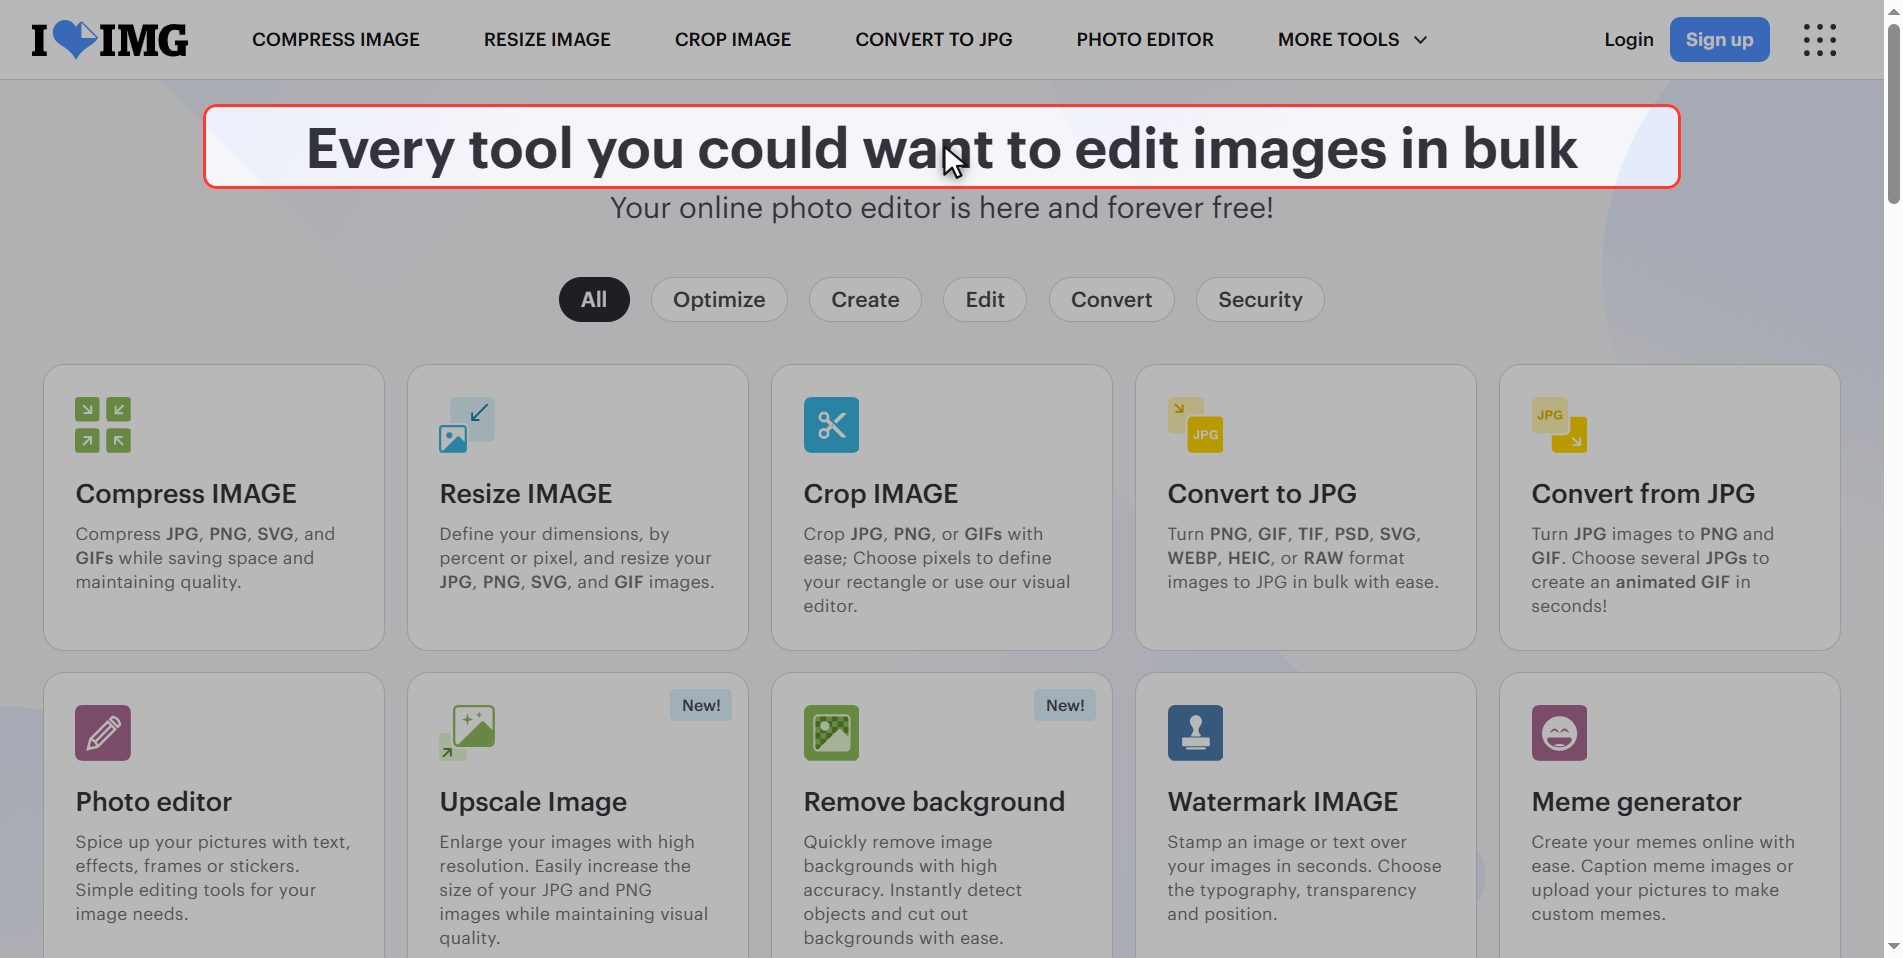
Go to iloveimg.com — with IMG, for image: the sister site of iLovePDF, same people, but for photos.
The tool is called Blur face.
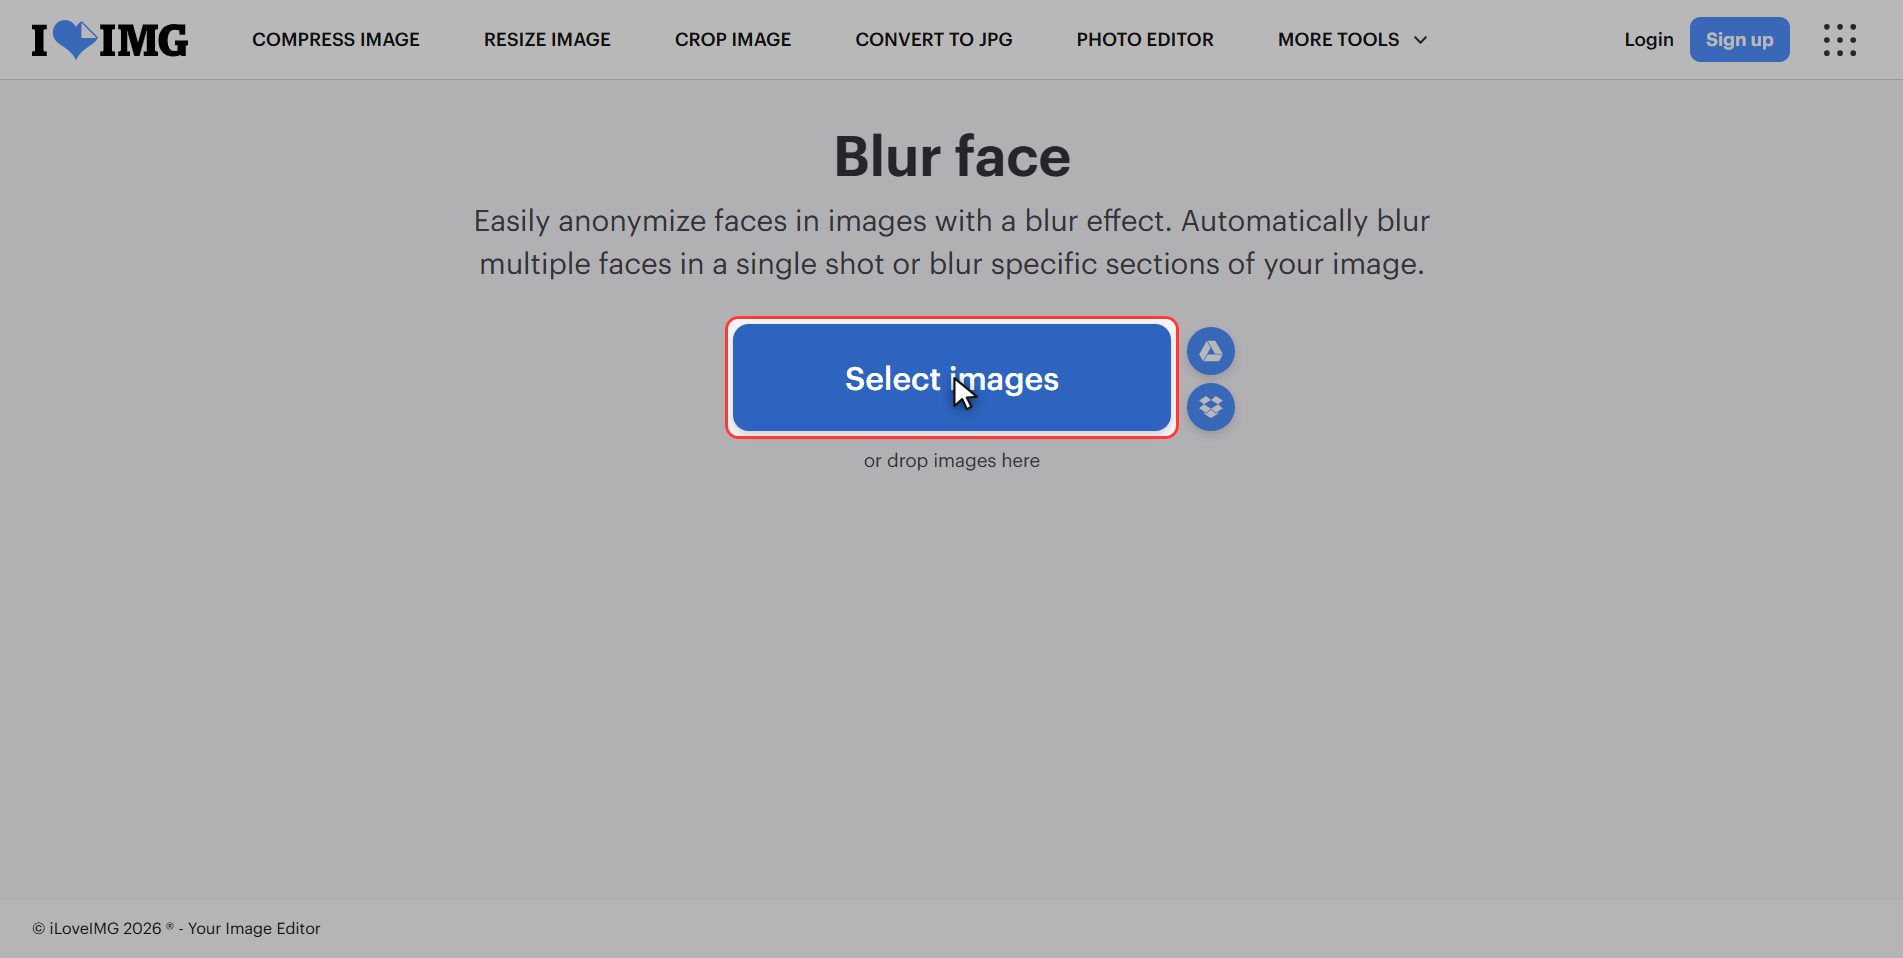
Upload your photo
Click the red Select images button and pick your photo.
It is plural: you can upload several at once.
> The two faces in this tutorial belong to nobody: they were generated by artificial intelligence. For a tutorial about covering faces it made no sense to use the face of a real person who has not given permission.
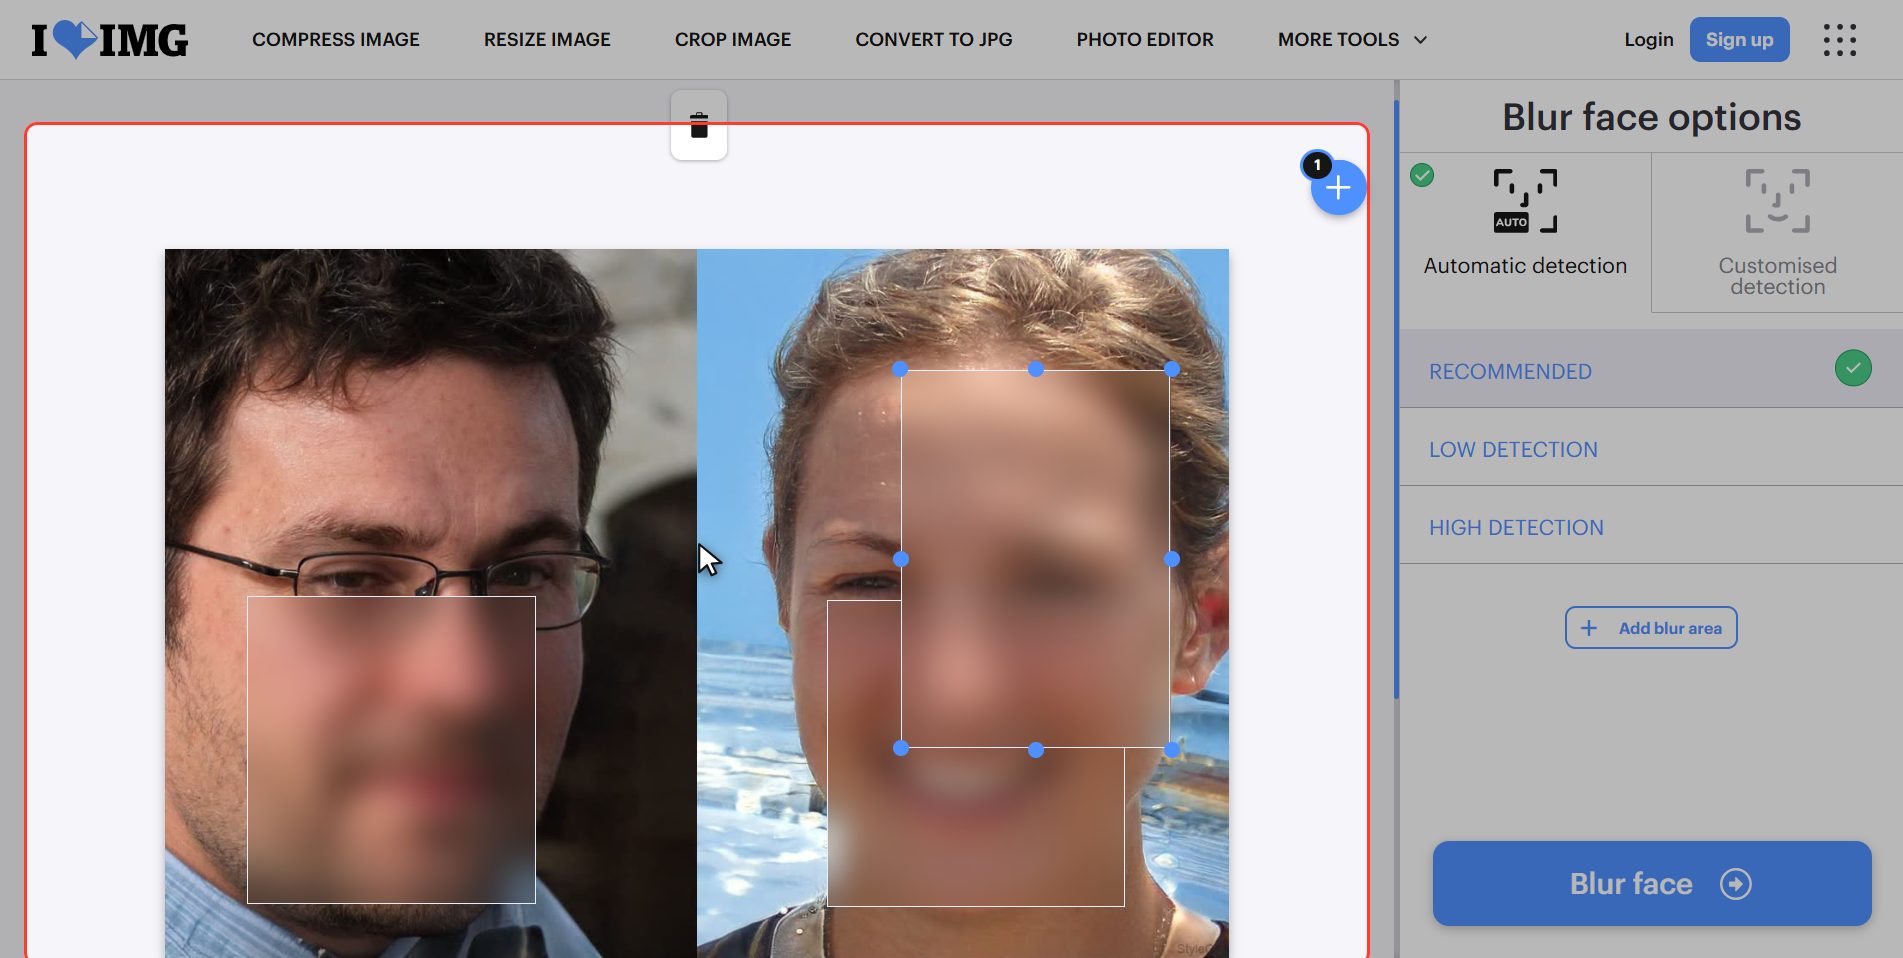
It finds them by itself
There is nothing to do here. The moment the photo uploads, the tool looks for the faces on its own and shows them already covered in the preview, each with its own box.
Give it a few seconds, it takes a moment to think.
What you see there is exactly what you will download: this is the moment to look at it properly, not afterwards.
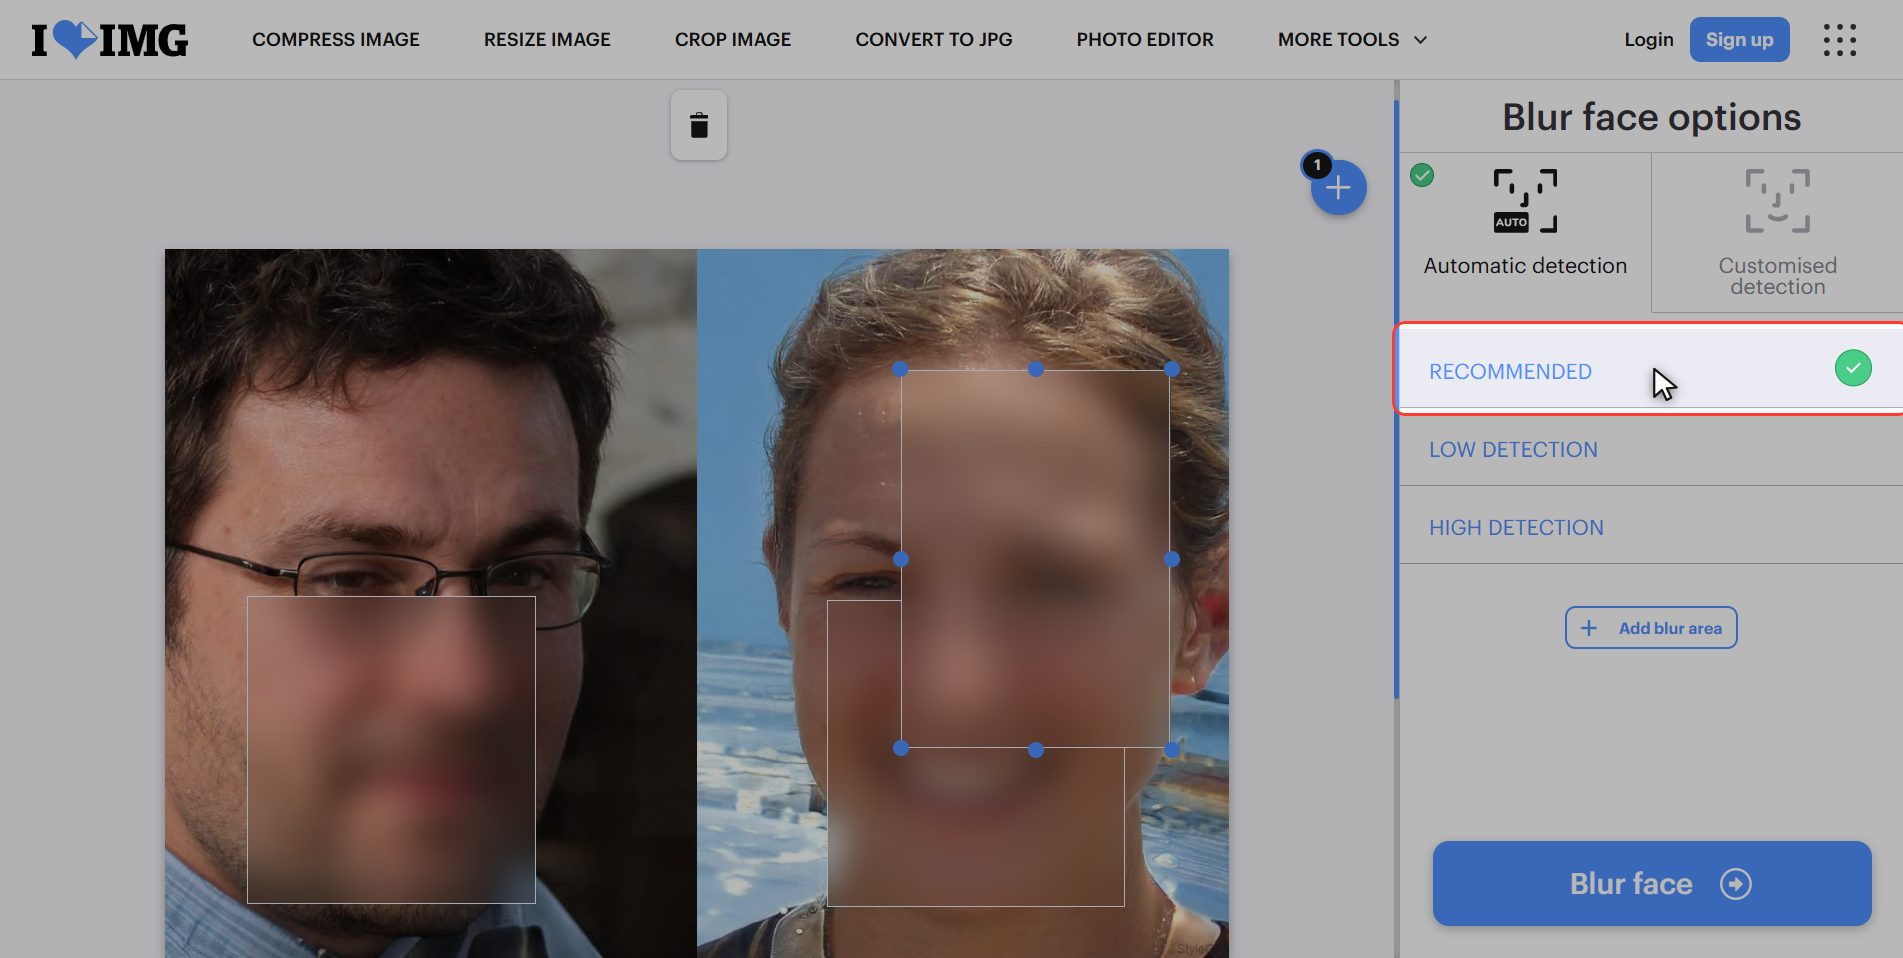
If it misses a face, or covers too much
And here comes what almost nobody tells you. Sometimes it misses a face — somebody in profile, in a cap, in sunglasses, or small in the background — and sometimes it does the opposite and covers something that was not a face.
That is what these three options in the panel are for:
| option | when | |---|---| | RECOMMENDED | the default, right nearly always | | HIGH DETECTION | it missed a face: looks harder | | LOW DETECTION | it covered something that was not a face |
How to use it: look at the preview. If somebody is missing, go up. If something is spare, go down.
Covering by hand what is not a face
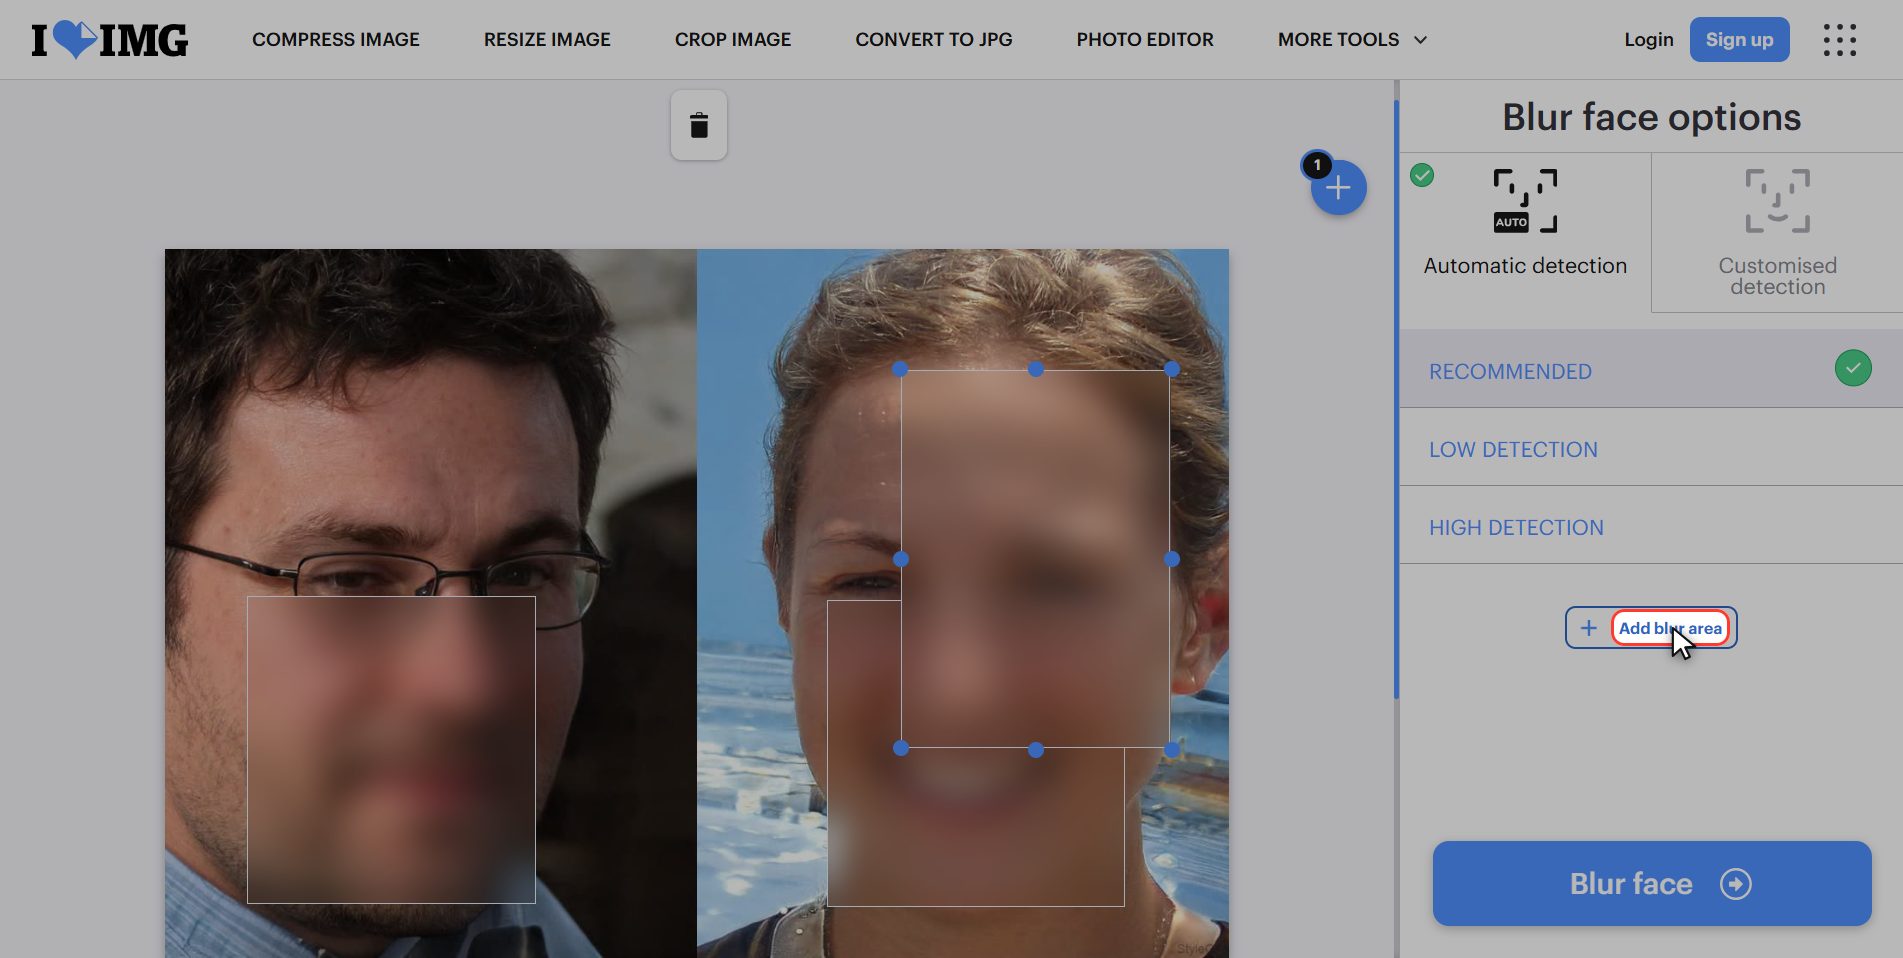
And if it still misses somebody, here is the most useful button in the whole tool: Add blur area.
A box appears that you can move and stretch over the photo to cover whatever you like. With that it no longer depends on the machine getting it right.
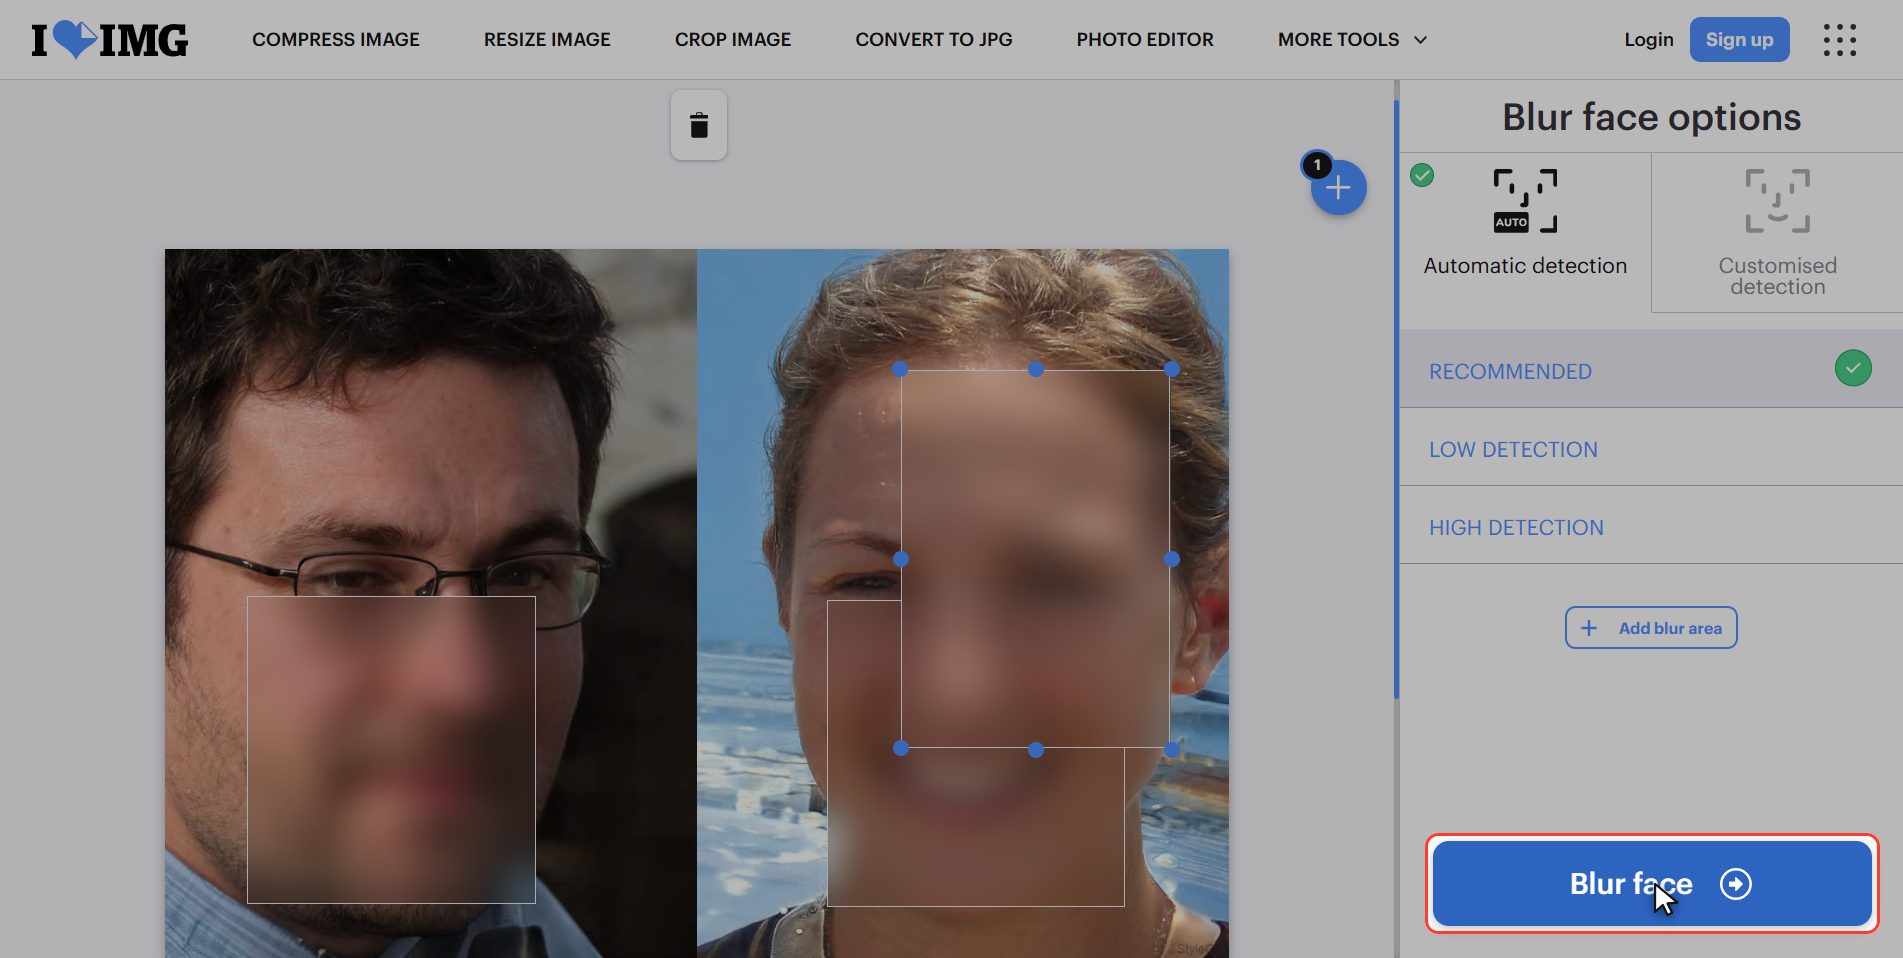
Click "Blur face"
When the preview looks how you want it, click the blue button at the bottom right: Blur face.
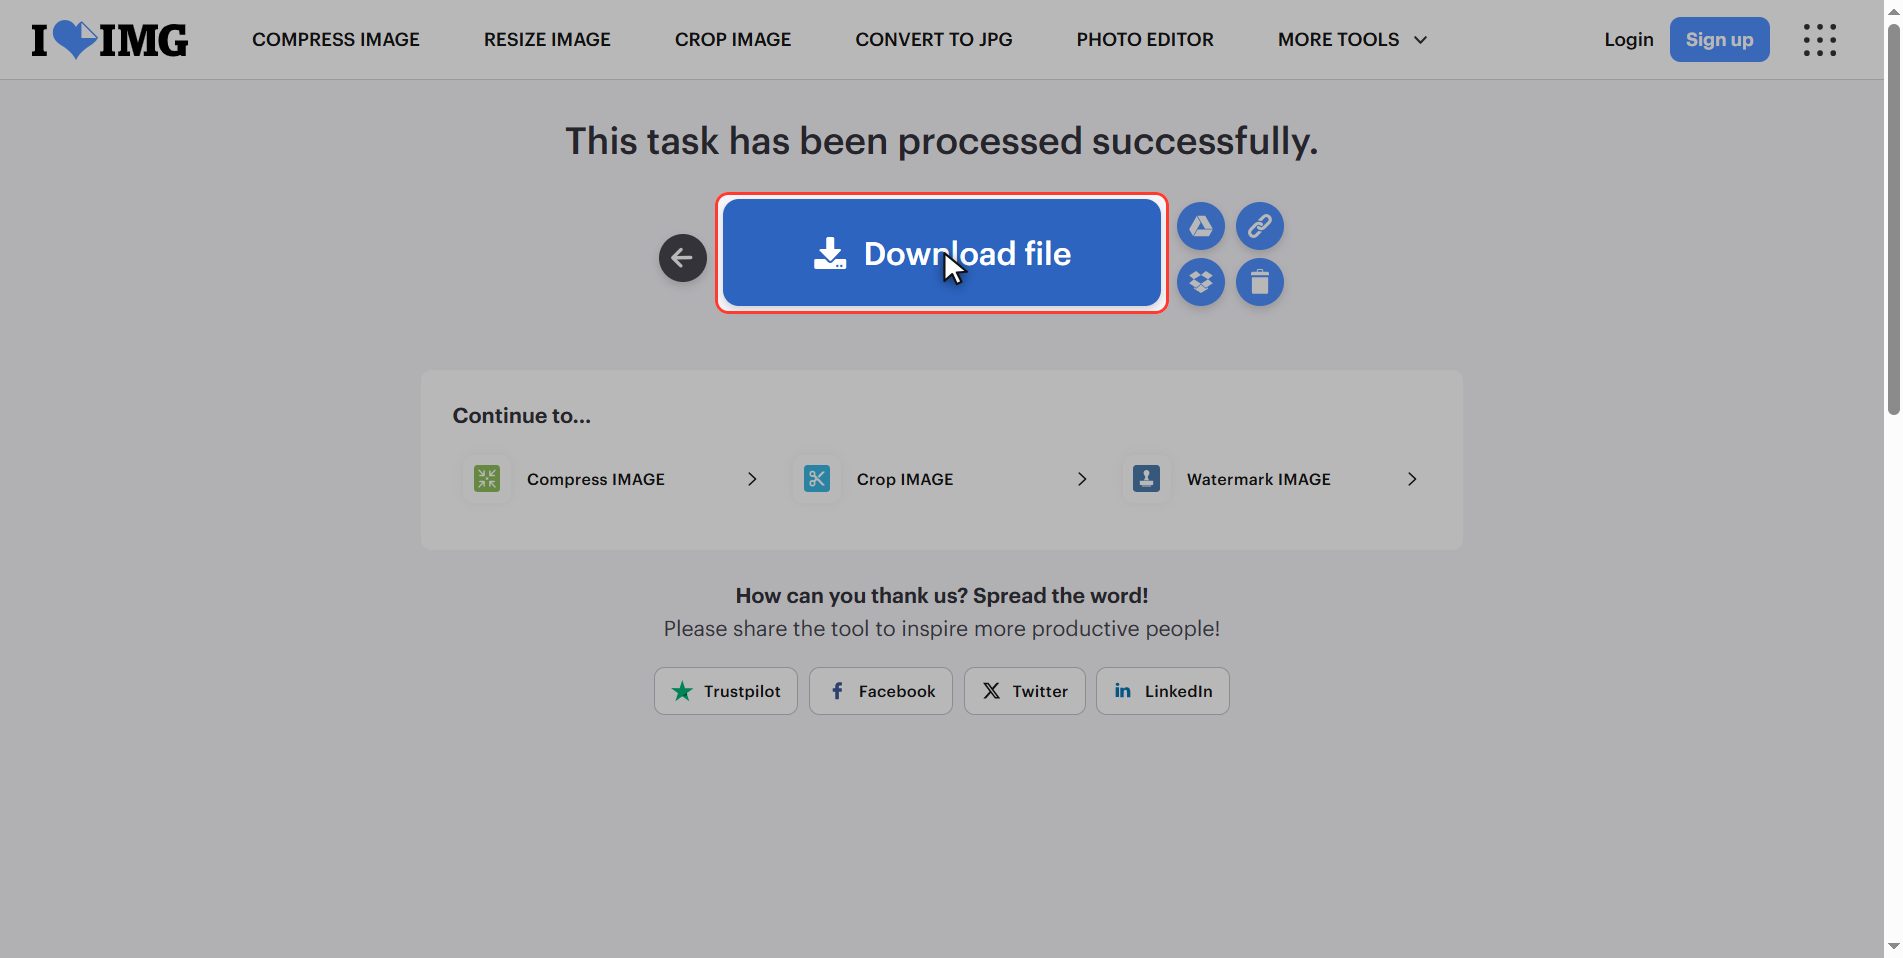
Download it and compare
Download the file and it is in your downloads folder.
And now do something everybody skips: open it and compare it with the original at full size. Not the thumbnail: the whole photo. That is where you see whether a face ended up still recognisable.
Your original photo has not been touched: what you download is a new copy. Keep the original separately and post only the covered one — mix them up and you have worked for nothing.
What you forget to cover
This is what gets forgotten, and it is the important part.
A face is not the only thing that identifies somebody in a photo. Think about what is in the background:
- A car number plate
- A door number or a street name
- A T-shirt with the name of a child's school
- An ID badge on a lanyard
- An envelope with an address on the table
- A computer screen with an open email
All of that is covered with Add blur area, and it is exactly what nobody covers because they only remember faces.
And one last thing, of a different kind: a photo file carries hidden data inside — the date, the phone model and very often the coordinates of where it was taken. Covering a face changes pixels, not that data.
If the photo is sensitive, check before posting: on Windows, right click › Properties › Details, and you can strip it right there.
What happens to your files
This applies to all of these tools, and here it has a sting in the tail.
Your photo is uploaded to an iLoveIMG server so the faces can be covered. It is processed there and deleted by itself after a few hours.
But think about it for a second: the file you upload is the one that still has the faces uncovered.
If the photo is genuinely sensitive, almost every phone today has a retouch tool that blurs without the photo ever leaving your pocket. This site is convenient, free and handles several photos at once; you decide when it is worth it.
And if you do upload it, hit the bin icon when you are done.
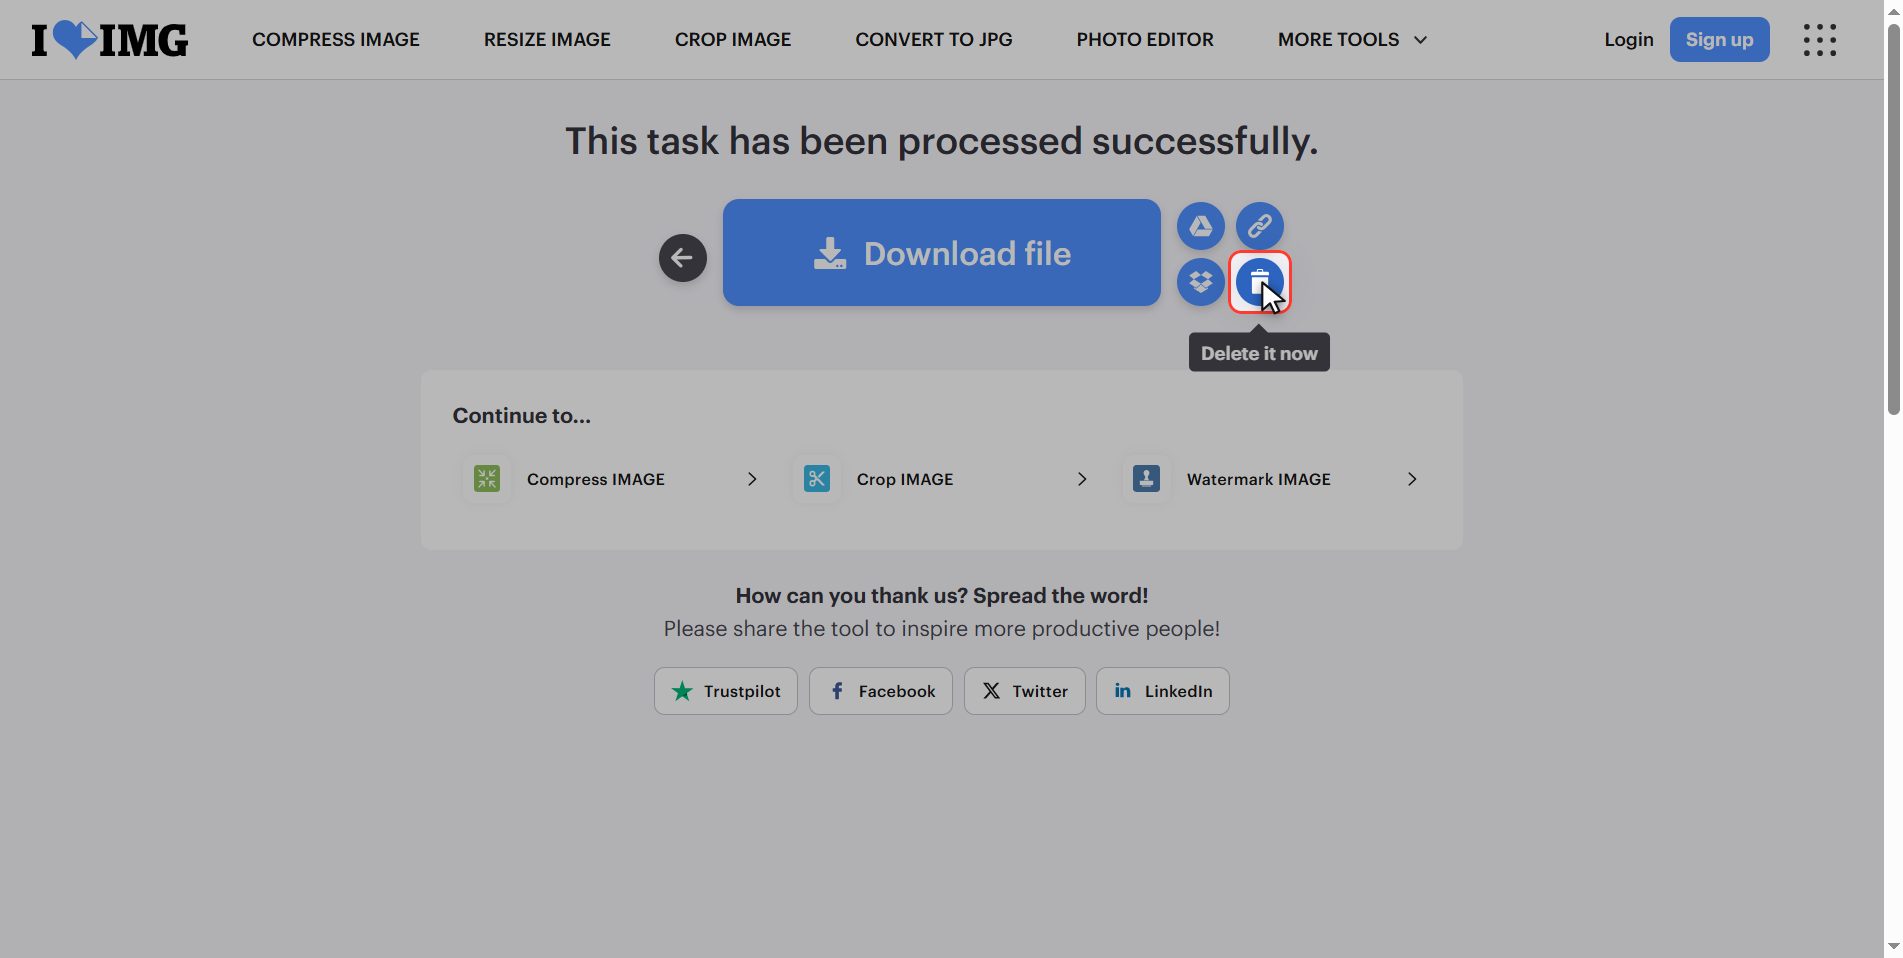
And that is it: faces covered in under a minute and for free.
Take away the three things nobody tells you: if it misses a face, HIGH DETECTION; what the machine cannot see, you cover with add blur area; and remember number plates, names and addresses, which identify somebody just as well as a face.
Common questions
It missed a face. What do I do?
Two routes, and the order matters. First try changing the sensitivity to HIGH DETECTION, which looks harder and usually catches faces in profile or small ones in the background. If it still cannot see it, use "Add blur area" and cover it by hand: a box appears that you can move and stretch. What you should not do is post trusting the small preview: look at the photo full size first.
It covered something that was not a face.
That happens with objects that look like a face from a distance: a plug socket, a drawing, a cloud. Drop the sensitivity to LOW DETECTION, which is more demanding and discards those confusions. If dropping it makes it miss a real face, leave it on RECOMMENDED and cover what is left by hand, which is usually quicker than fighting with the sensitivity.
Can the blur be removed afterwards?
No, and that is a good thing. The blur is not a layer you can switch off: the pixels in that area are replaced, and the information that was there is no longer in the file. That is why it matters to keep your original photo separately, because if you ever need the uncovered version, the only place it exists is there.
Is covering the face enough to post the photo?
Not always, and it is the most important question of all. A person is also identified by what is around them: the car number plate, the door number, a T-shirt with a school name, an ID badge. All of that is covered with the add area button. And there is another layer you cannot see: the file carries the date inside it and very often the coordinates of the place. Covering a face does not touch that data.
Can I blur faces in several photos at once?
Yes, the button is plural and it takes several images. Each one is analysed on its own, so the sensitivity that suits one may not suit another: it is worth looking at the preview of all of them before processing. And the result arrives in a zip that opens with a double click.
Are the faces in this tutorial real people?
No, and that is deliberate. They were generated by artificial intelligence and do not correspond to any living person. In a video explaining that you do not publish somebody's face without their permission, using a stranger's face from a stock photo library would have been contradictory: those licences hand over the photographer's copyright, but not the image rights of the person portrayed. They are two different permissions and it is worth knowing that.