How to change the size of an image
In 30 seconds: go to iloveimg.com, pick Resize image, upload your photo, type ONLY the width you need and hit the red button. The height does not change on screen and it does not matter: the maintain-proportions box works it out anyway. Do not delete it, because then it will not process. Free, no sign-up.
Somebody asks you for an image at a specific size: for a profile picture, for a site that will not take large images, for a form with a maximum number of pixels.
It takes a minute, it is free and there is nothing to install.
And there are two checkboxes almost nobody looks at that decide whether the photo comes out right or comes out stretched like chewing gum. Understanding them is the whole tutorial.
Go to iLoveIMG
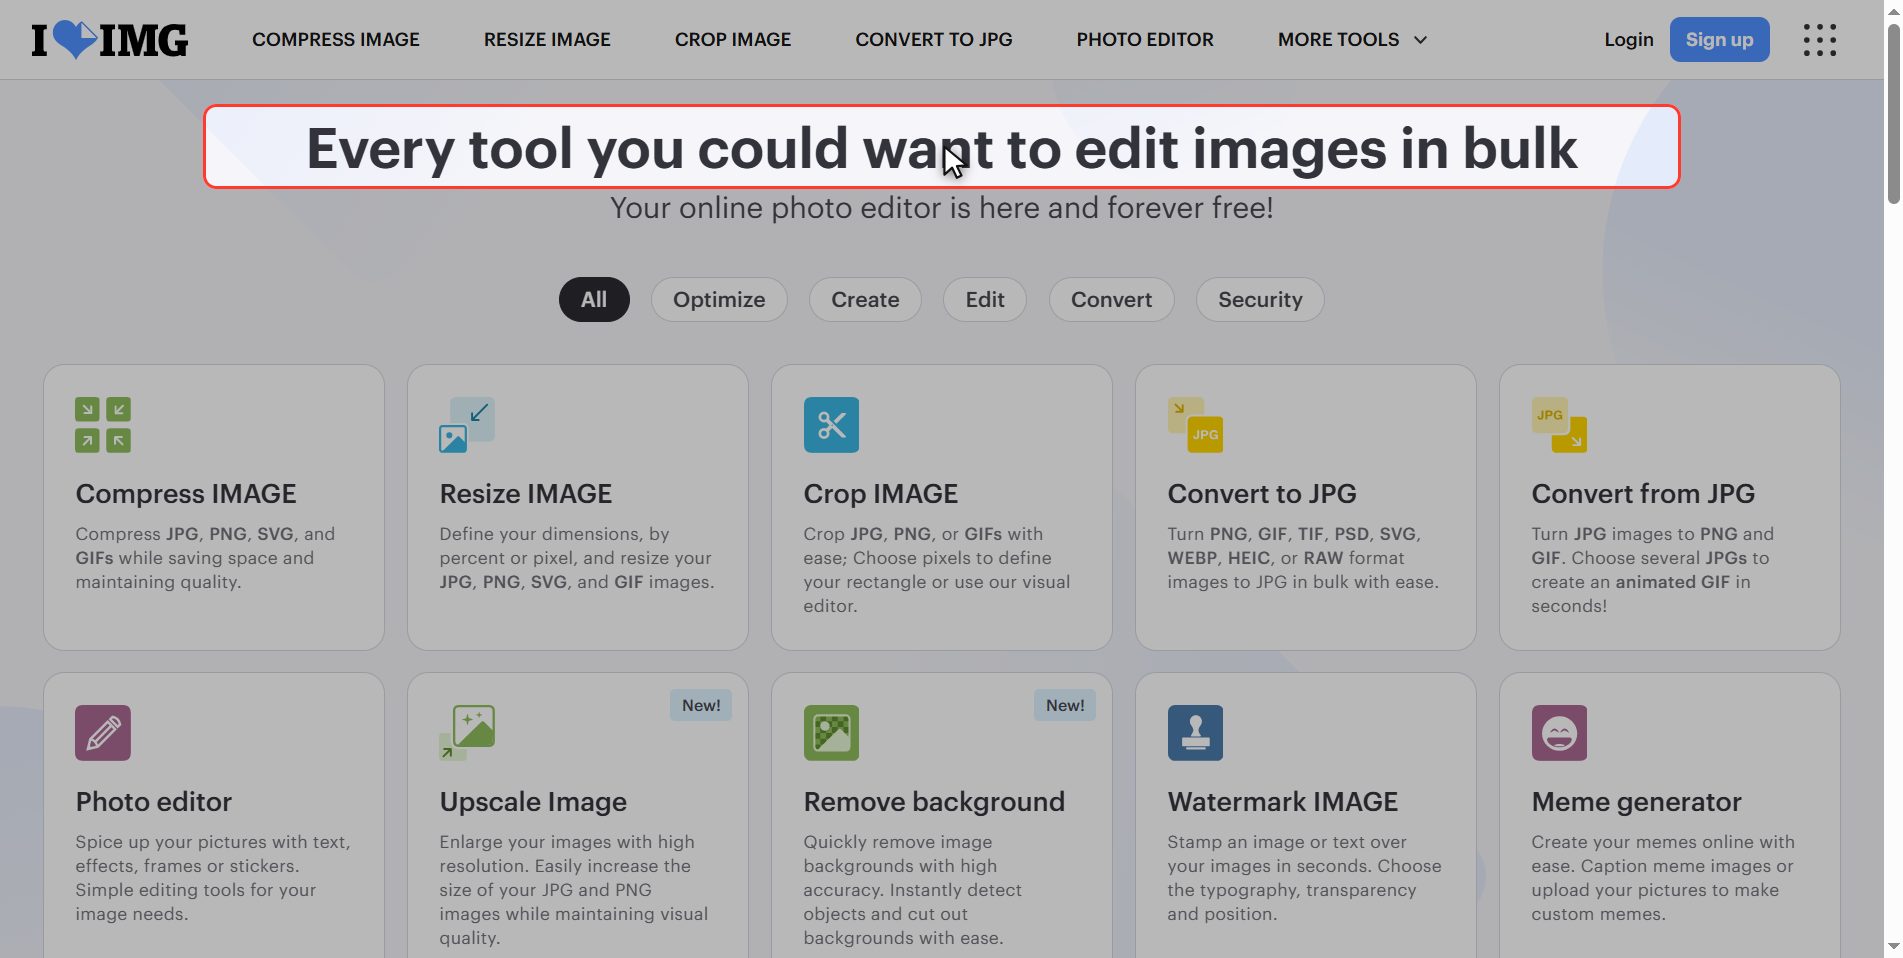
Go to iloveimg.com — with IMG, for image: the sister site of iLovePDF, same people, but for photos.
The tool you want is Resize image.
Notice the one next to it, Compress image: they are two different things and a lot of people confuse them. Which to use when is at the end.
Upload your photo
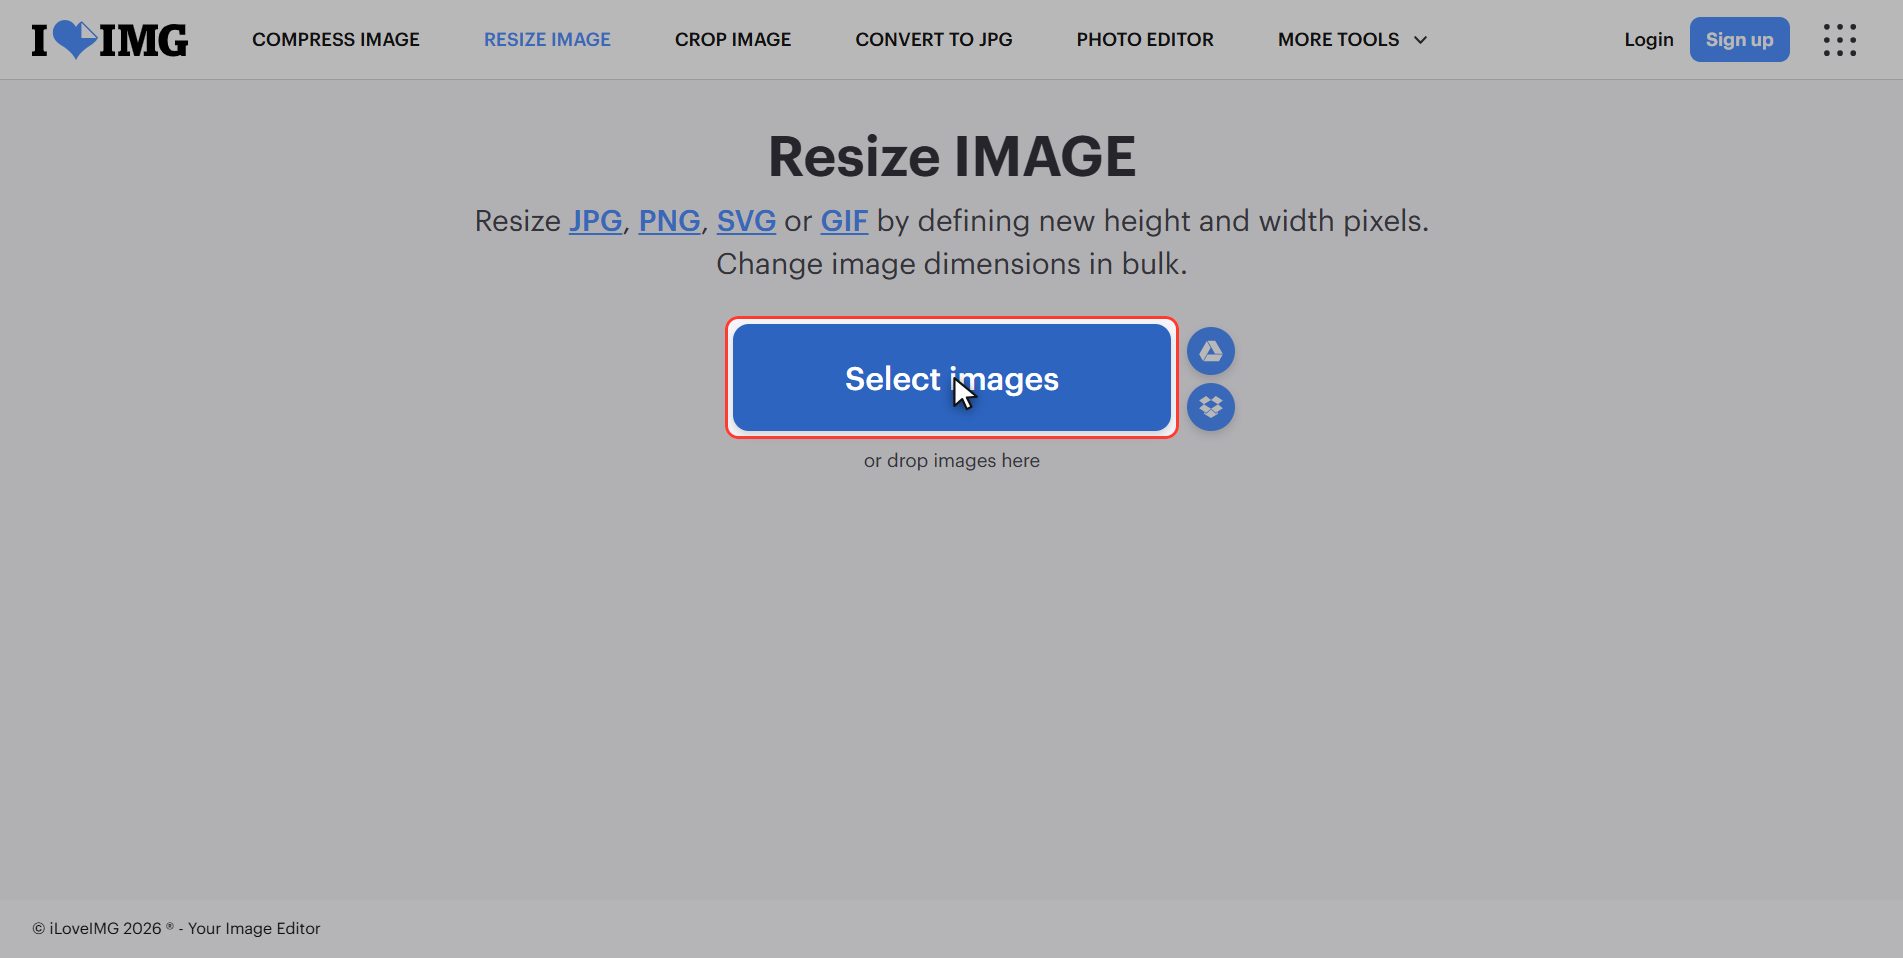
Click the red Select images button.
It is plural: you can upload several at once and it changes them all to the same size. Exactly what you need when you have ten photos to prepare for a website.
Type ONLY the width
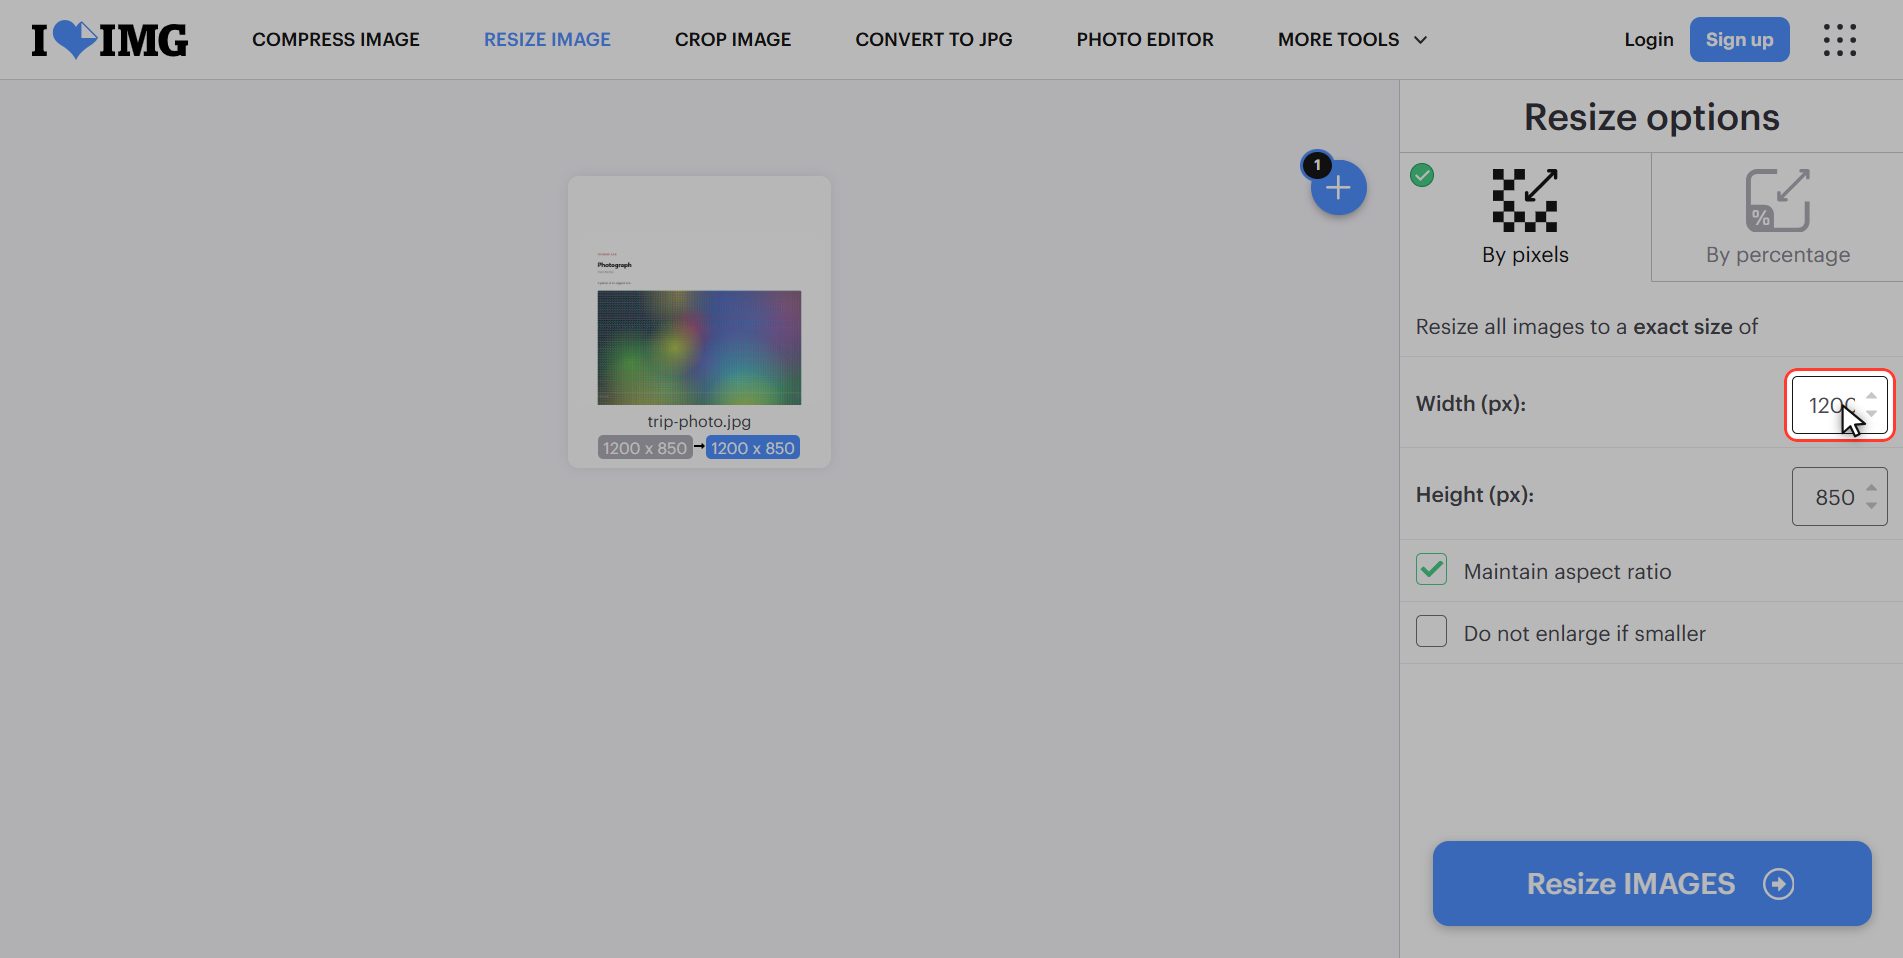
Look at the panel on the right: it comes already filled in. Width and height show the measurements your photo has right now. Those are the originals, not an example.
Type the number you need in the width — for example 1080, the one Instagram and almost every network asks for. And that is it: that is everything you have to type.
The height does not change, and it does not matter
Now look at the height: it still says `850`, as if it had not noticed. The doubt that comes to you is logical — *if the width is 1080 and the height is still 850, my photo is going to come out stretched*.
It is not. This was checked by downloading the file and measuring it:
| what you type | what actually comes out | |---|---| | only the width, 1080 | 1080 × 765 ✔ | | both, 1080 and 765 | 1080 × 765 ✔ | | height left blank | does not process ✗ |
The maintain proportions box, which sits just below and comes ticked, does its job behind the scenes. What happens is that the site does not refresh that number on screen. That is their flaw, not yours.
> Do not touch the height. And above all do not delete it: leave it blank and the tool hangs and processes nothing.
The two boxes nobody looks at
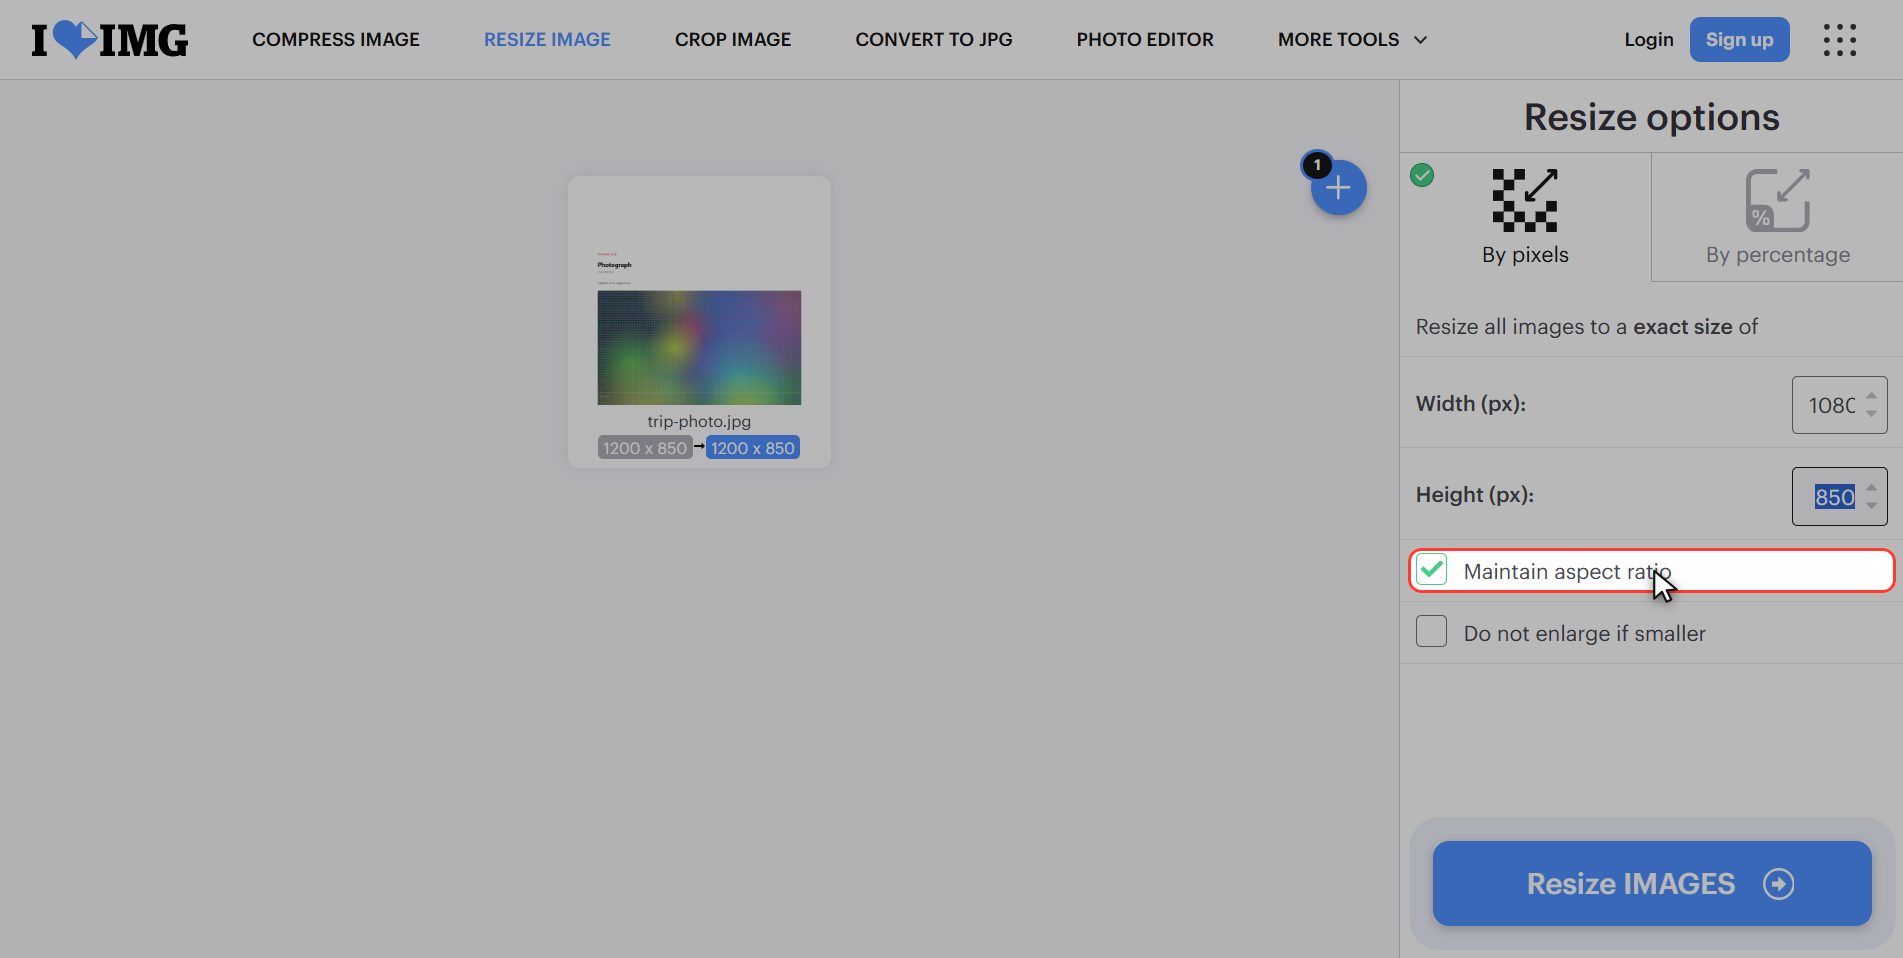
The two boxes are just below, and they are very different from each other.
"Maintain aspect ratio" — comes TICKED. It is the one that makes the field you leave alone get calculated keeping the proportions. Leave it as it is.
But be clear about what it does not do: it does not protect you from typing two wrong numbers. Fill in width and height by hand with measurements that do not match and the photo comes out stretched anyway. Faces get fat and buildings bend. The box helps when you let it work, not when you fight it.
"Do not enlarge if smaller" — comes UNTICKED, and almost nobody notices.
It is insurance against something people try all the time: taking a small photo and asking for a bigger one. It does not work, and it is worth understanding why.
A photo is pixels. If it is 500 wide, it has 500. Ask for 2000 and the program cannot go and find the missing detail, because it does not exist: it stretches what is there. The result is a 2000 pixel photo that is blurry, weighs more and looks worse.
Since the box is off, the site will let you do it without saying a word. If you are resizing a batch of photos of different sizes, tick it yourself: that way the small ones stay as they are instead of coming out ruined.
Click "Resize images"
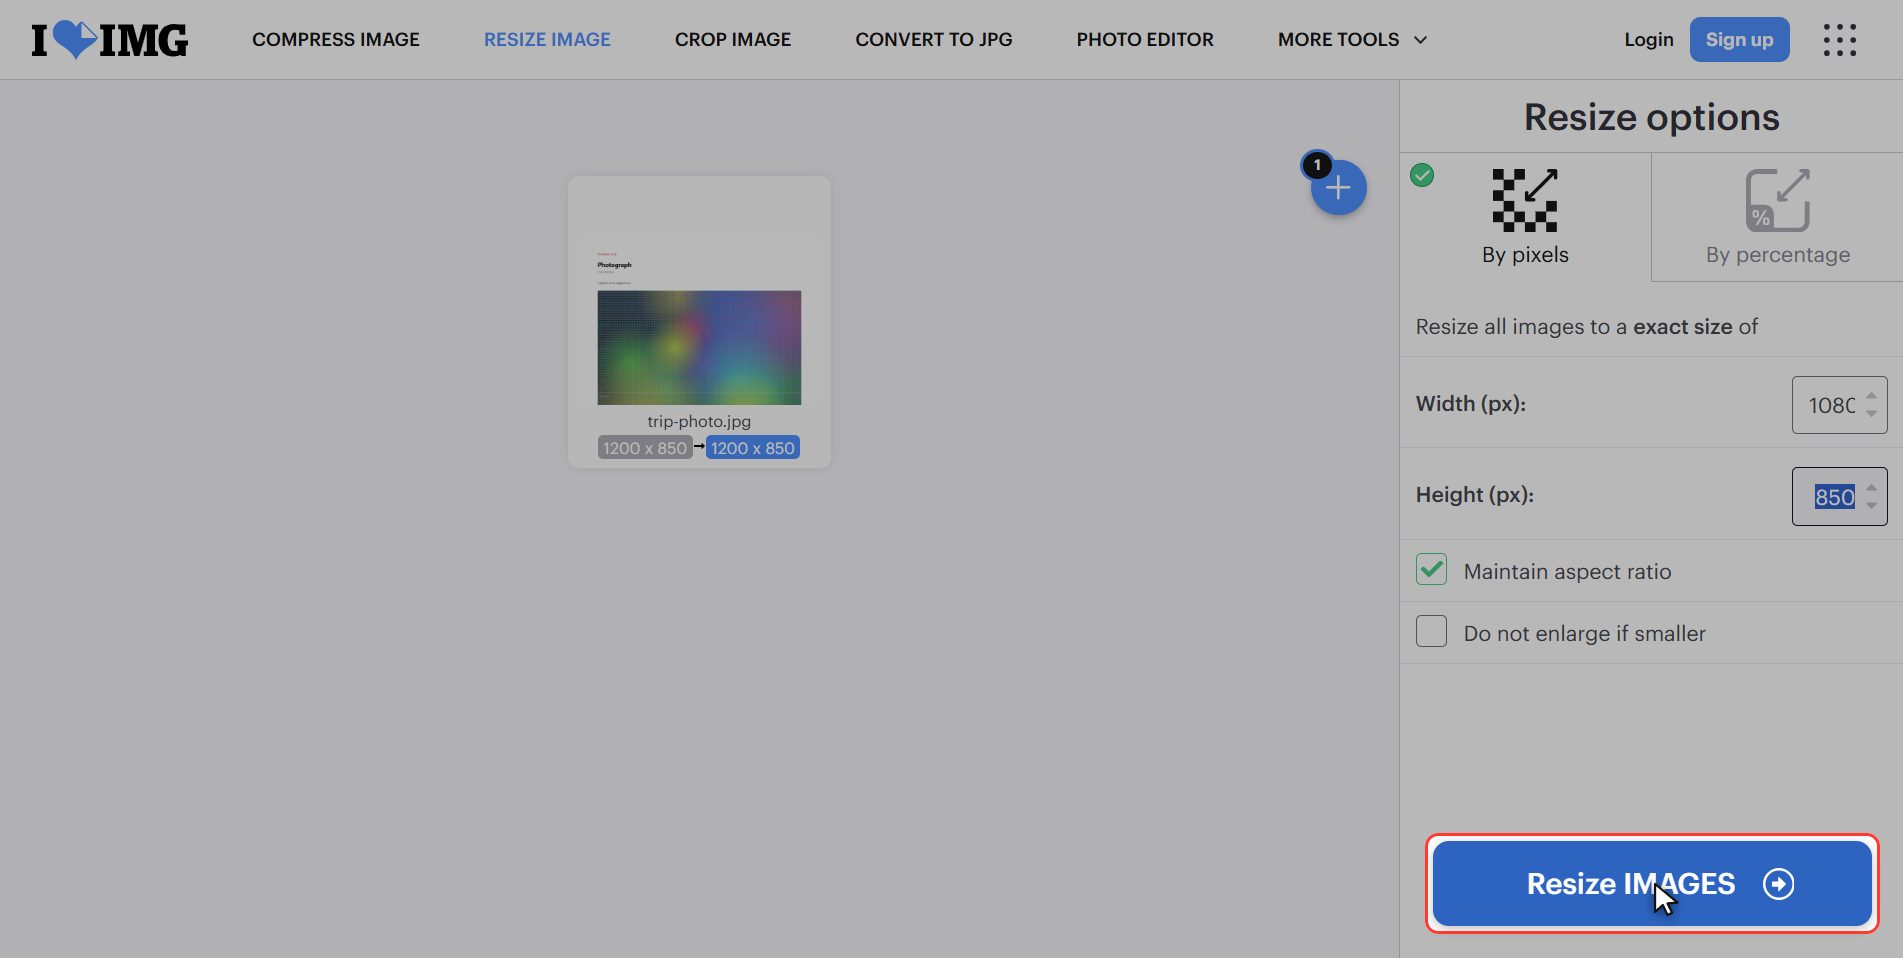
Click the red button at the bottom right: Resize images. It takes a few seconds.
Download it
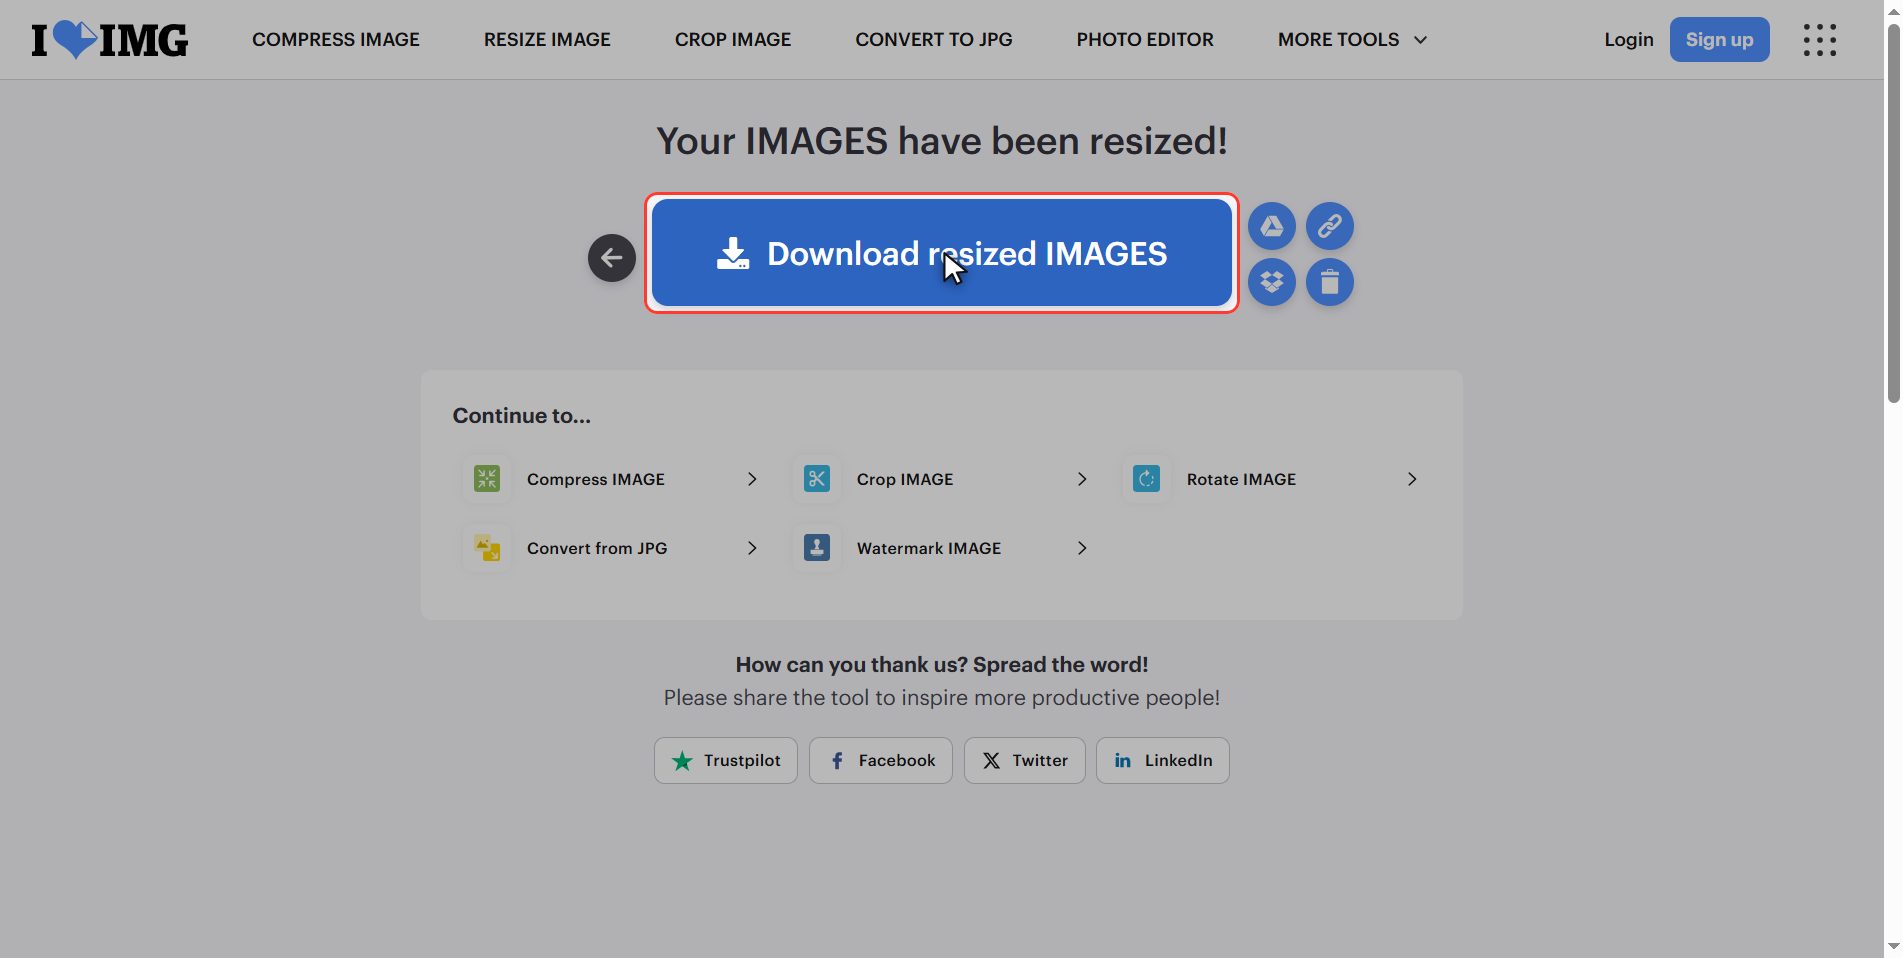
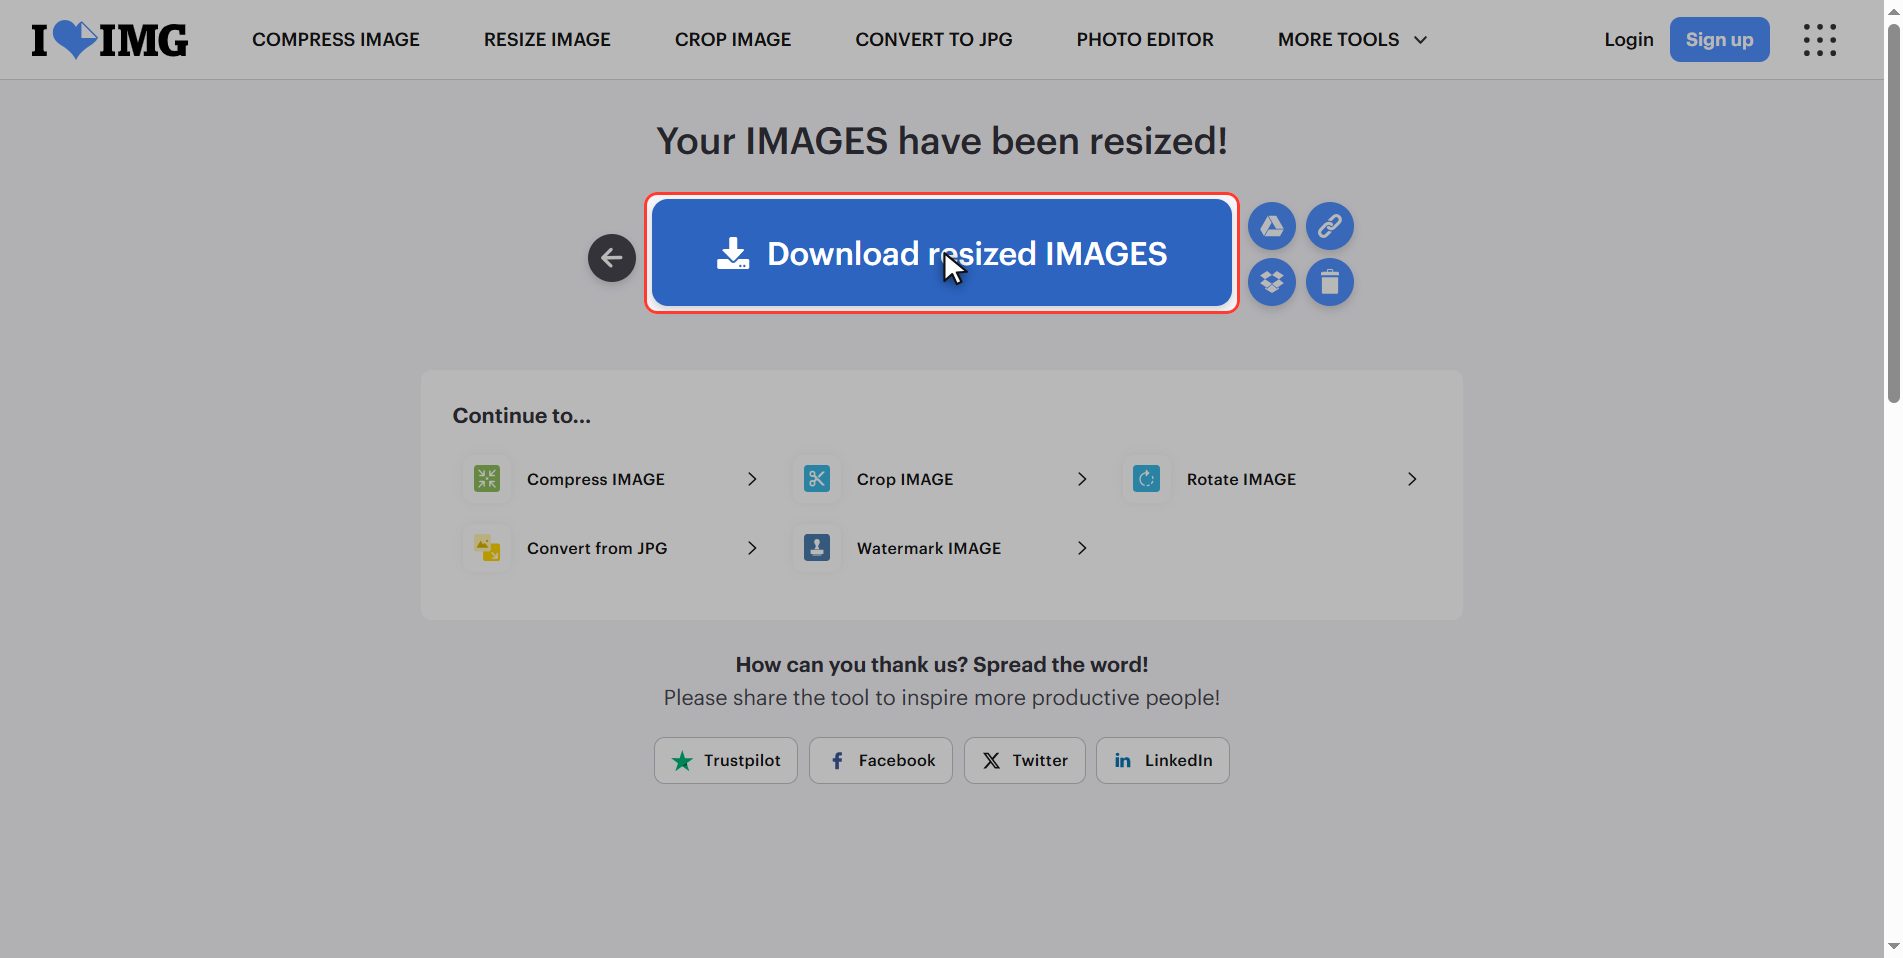
Hit Download resized IMAGES and your photo at the new size is saved in your downloads folder. If you uploaded several, they arrive together in a zip.
And a bonus: by dropping the measurements the file has also dropped in weight, because there are fewer pixels to store.
What size to use for what
The sizes asked for 90% of the time:
| What for | Size | |---|---| | Profile picture | 1000 × 1000 (square) | | Instagram or Facebook post | 1080 wide | | Story or vertical video | 1080 × 1920 | | Big header image on a website | 1920 wide | | Sending by email | 800 wide |
And the doubt everybody has — resize or compress?
- Does the photo weigh a lot but the size suits you? → Compress (the *Compress image* tool). It does not change the measurements.
- Is the photo enormous in pixels for what you need? → Resize, what we just did.
- Both? → Resize first, compress afterwards. In that order you save more, because you compress fewer pixels.
What happens to your files
This applies to all of these tools.
Your photos are uploaded to an iLoveIMG server so they can be resized. They are processed there and deleted by themselves after a few hours. The connection is encrypted.
For photos of a trip, a product or a landscape, no problem. If they are personal photos or photos of other people, think about it: almost every phone and every photo program on your computer resizes without sending anything to the internet.
And if you upload them anyway, hit the bin icon when you are done.
And that is it: an image at the size you need in under a minute and for free.
Take away the important part: type one number and leave the other alone, and if you are handling several photos of different sizes, tick "do not enlarge" yourself — it comes off.
Common questions
I typed the width and the height did not change. Will it come out stretched?
No. It is the most reasonable doubt in the world and the answer is simply that the site does not refresh that number. It was checked by downloading the file and measuring it: starting from a photo of 1200 by 850 and typing 1080 in the width, the file that comes down measures 1080 by 765, exact proportions, even though the height kept showing 850 the whole time. The maintain aspect ratio box does its job behind the scenes. What you must not do is delete the height: with that field empty the tool does not process and just hangs.
I need an exact width AND height that are not proportional. What do I do?
Unticking the box and typing both does work, but the photo will come out stretched. What you do instead is this: first resize keeping the proportions until the smaller measurement reaches what you were asked for, and then crop the excess with the Crop image tool. That way the image is the exact size and nothing is deformed. It is the route designers use.
My photo is small and I need it bigger. Is it really not possible?
Bigger in pixels yes, with more detail no. An image is a grid of coloured dots, and the ones that are not there cannot be guessed: when you enlarge, the program spreads the ones it has over more space, and the result is blurry. That is why the site has a box to prevent it. If you need a genuinely large version, you have to go back to the original: the photo as it came off the camera or the phone, before any app shrank it on sending.
What is the difference with compressing?
Resizing changes the measurements: the photo has fewer pixels across and down. Compressing keeps the measurements and lowers the quality in a way you are not meant to notice, so the file weighs less. If the problem is the weight, compress. If the problem is that the image is too big for what you need, resize. And if it is both, resize first and compress afterwards.
What is the "By percentage" tab?
Another way of asking for the same thing, more convenient when you do not have an exact number in mind. Instead of typing pixels, you choose half, a quarter, and so on. It is useful for a batch of photos of different sizes: by percentage they all shrink in the same proportion, whereas by pixels they would all end up the same width even though they started from different measurements.
Does reducing an image lose quality?
Information is lost, because there are fewer pixels, but it does not look worse: on the contrary, a reduced photo usually looks sharp because the detail is concentrated. What has no way back is the process: from the small version you cannot return to the large one. That is why it is worth keeping the original and working on a copy, especially with a photo that matters to you.